Before we jump into the jars and vinegar, here’s what you’ll discover in this guide: a foolprooMaking your own pickled cherry peppers at home doesn’t just taste better—it saves money and puts the flavor back in your hands. In this article, you’ll learn a savory, no-sugar recipe for pickled cherry peppers that packs just the right amount of heat, with tips for crisp texture, gut health, and spice control. Whether you want to snack on them, stuff them with cheese, or top off your brunch plate, this guide will get you pickling like a pro.
Table of Contents
A Story from My Kitchen: How I Fell in Love with Homemade Pickled Cherry Peppers
I’ve always loved bold flavors, and growing up in Austin, breakfast was a big deal in our house. My mom was the queen of pancakes, but on the weekends, she’d crack open jars of homemade pickles—okra, jalapeños, and, occasionally, cherry peppers. That tangy, spicy burst on the side of scrambled eggs always stuck with me.
Fast forward to adulthood, and I found myself disappointed by store-bought jars. Every recipe for pickled cherry peppers on the shelves seemed overly sweet, with the peppers barely holding their crunch. I thought, “Is this really what people think pickled cherry peppers should taste like?” So I decided to make my own—spicy, savory, and perfectly crisp. That changed everything.
Now, I keep a stash in the fridge year-round. They show up on brunch boards next to grinder Italian sliders, or as a fiery topping for my scrambled pancakes. And honestly? They disappear fast.
Whether you want them whole, stuffed with cheese, or sliced and stacked into your favorite egg sandwich, this recipe for pickled cherry peppers brings back that perfect balance of heat, vinegar, and crunch—without a sugar overload.

The Best Brine for Pickled Cherry Peppers (and How to Keep Them Crisp)
The backbone of every great recipe for pickled cherry peppers is the brine. For a clean, bright flavor with just a whisper of sweetness, mix:
- 2 cups white vinegar
- 1 cup water
- 1 tablespoon kosher salt
- 2 teaspoons sugar (optional for balance)
That’s it. No syrups, no additives—just a tangy, savory base that lets the peppers shine. I add smashed garlic, black peppercorns, mustard seeds, and bay leaves for depth. You can also try using cherry vinegar as part of your vinegar mix for a fruitier twist.
Now, let’s talk crispness. No one wants soggy peppers. Here’s how to keep yours snappy:
- Use fresh, firm cherry peppers (not limp or wrinkled)
- Add bay leaves or grape leaves to your jars for natural tannins
- A pinch of calcium chloride (Pickle Crisp) locks in texture beautifully
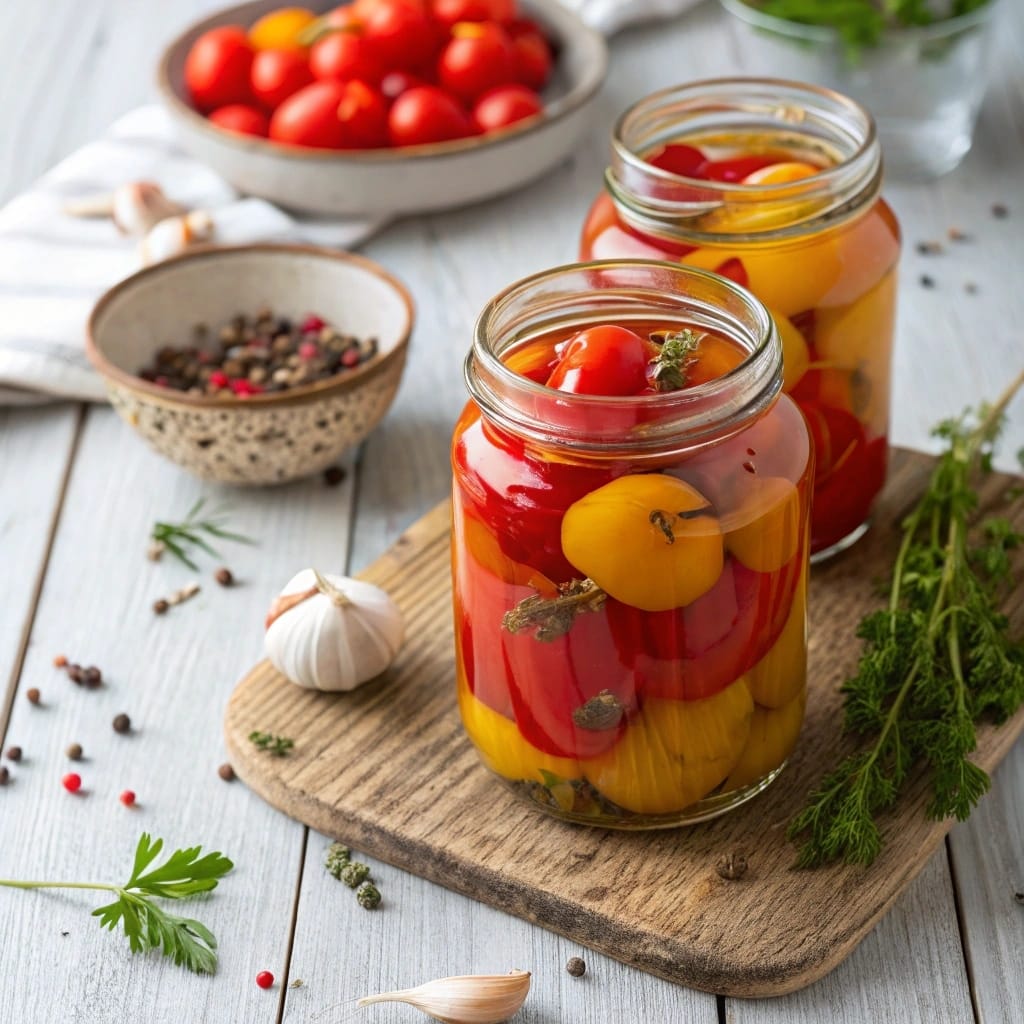
Once packed, pour the hot brine into your jars and seal them tightly. Let them cool completely, then refrigerate. In 5 days, your pickled cherry peppers will be packed with flavor.
Want to get creative? These are perfect paired with Greek chicken orzo salad or tucked beside a savory bubble waffle.
Print
Recipe for Pickled Cherry Peppers
- Total Time: 25 minutes
- Yield: 3 pint jars
- Diet: Vegetarian
Description
A savory, crisp, and low-sugar recipe for pickled cherry peppers with just enough heat and tang. Great for snacking or stuffing.
Ingredients
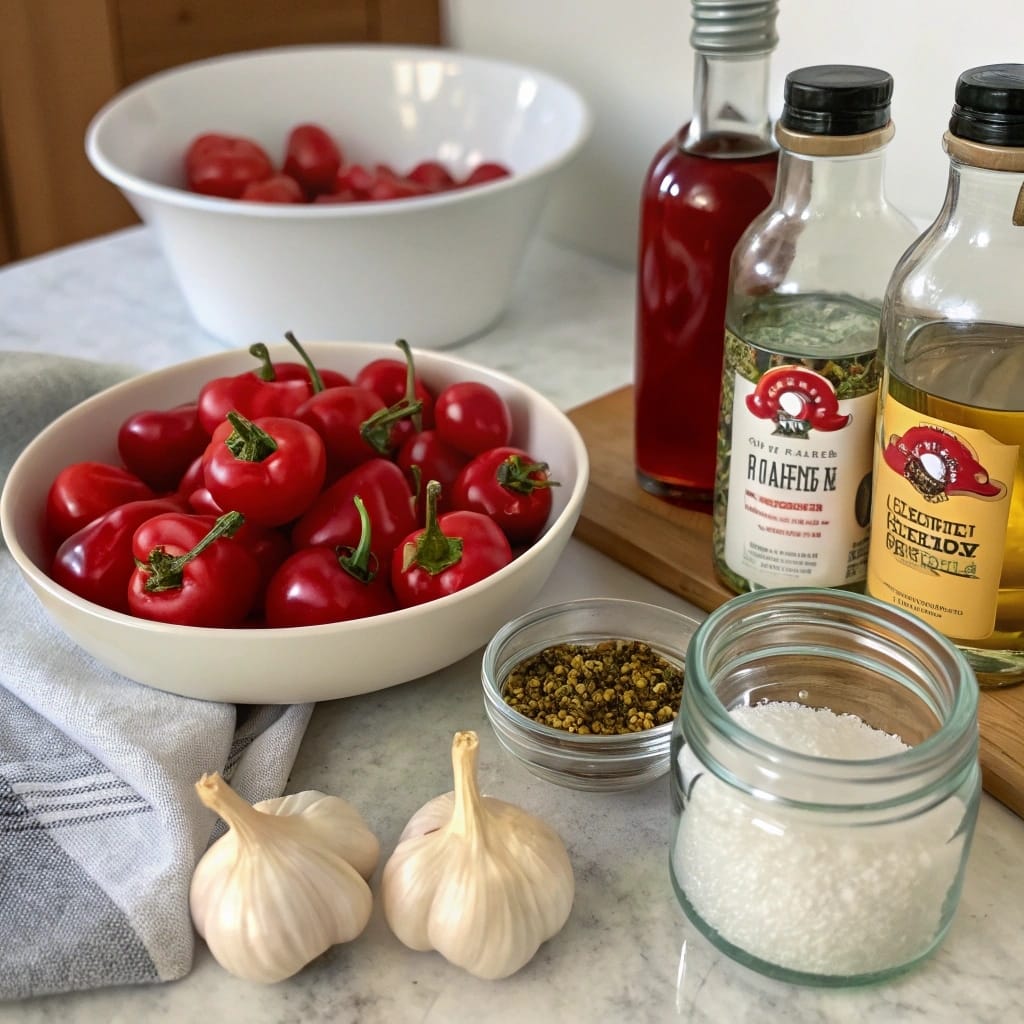
1 lb fresh cherry peppers (red or mixed)
2 cups white vinegar
1 cup water
1 tbsp kosher salt
2 tsp sugar (optional, for balance)
4 garlic cloves (smashed)
1 tbsp peppercorns
1 tsp mustard seeds
2 bay leaves (or grape leaves for crispness)
Optional: red pepper flakes or calcium chloride for added crunch
Instructions
1. Wash and dry your cherry peppers thoroughly.
2. Trim stems and remove seeds/membranes (optional for milder flavor).
3. Pack peppers tightly into sterilized jars.
4. In a saucepan, bring vinegar, water, salt, and sugar to a boil.
5. Add garlic, peppercorns, mustard seeds, bay leaves to jars.
6. Carefully pour hot brine into jars, fully submerging peppers.
7. Let cool completely before sealing jars.
8. Store in refrigerator for 5 days before using for best flavor.
9. Keep refrigerated and consume within 2–3 months.
Notes
For spicier pickles, leave peppers whole and unseeded.
Always keep peppers fully submerged to prevent spoilage.
Add calcium chloride (Pickle Crisp) for max crunch.
- Prep Time: 20 minutes
- Cook Time: 5 minutes
- Category: Condiments
- Method: Pickling
- Cuisine: American
Spicy or Mild? How to Prep Cherry Peppers for Any Heat Tolerance
So, are cherry peppers hotter than jalapeños? Sometimes, yes. On the Scoville scale, they hit 2,500–5,000 units—similar to a jalapeño, but with a rounder, lingering warmth.
Here’s where this recipe for pickled cherry peppers gets flexible: you choose how spicy they are based on how you prep them.
- Whole and untouched: Maximum heat and best visual appeal. Seeds and membranes are intact.
- Cored and de-seeded: Less heat, ideal for stuffing with cream cheese or ricotta.
- Halved or quartered: Bite-size, easier to pack into jars, and great for topping brunch plates.
I personally like to make a batch of each style. The whole ones are showstoppers on a charcuterie board, while the halved peppers fit perfectly into a cloud bread breakfast sandwich.
If you want a deeper flavor, try roasting your cherry peppers under the broiler for 5 minutes before pickling. That smokiness adds another layer that works beautifully with rich dishes like pesto egg bites.
Gut Health, Shelf Life & Why These Peppers Are Good for You
Here’s the thing—this recipe for pickled cherry peppers doesn’t just taste amazing. It might actually help your digestion. Thanks to the vinegar, these peppers can support stomach acidity and break down heavier foods more easily. And cherry peppers themselves contain capsaicin, which helps reduce inflammation and speed up metabolism.
They’re rich in vitamin C and antioxidants too, making them more than just a spicy snack.
Now, how long do they last?
- Refrigerated: Up to 3 months. Always keep peppers submerged in brine.
- Water bath canned: Up to 1 year (if properly sealed and sterilized).
Their flavor peaks after about a week in the fridge. From then on, they mellow slightly but stay bright and tangy. I love keeping a jar next to the eggs, ready to upgrade any breakfast into something special—like adding a pepper or two to a spinach feta egg bake.
for more recipes follow me in facebook in pinterest.
Conclusion
Pickled cherry peppers are more than just a spicy snack—they’re a budget-friendly, flavorful, and gut-loving addition to your kitchen. Whether you go whole and fiery, stuffed and mild, or jar-packed and bite-sized, this recipe gives you full control over taste and texture. Say goodbye to syrupy store-bought versions and hello to homemade jars that pack a punch.
From morning toast toppers to savory brunch sides, these peppers do it all. So grab those jars, bring the brine to a simmer, and start your small-batch pepper revolution.
FAQ Section
What do you put in pickled peppers to keep them crisp?
To keep pickled cherry peppers crisp, use fresh peppers and include tannin-rich ingredients like grape leaves or bay leaves in each jar. Alternatively, add a pinch of calcium chloride (sold as Pickle Crisp). Also, avoid overcooking or extended boiling.
How long are pickled cherry peppers good for?
When refrigerated and stored in sterilized jars with peppers fully submerged in brine, pickled cherry peppers last up to 3 months. For longer shelf life, use proper canning methods, and they’ll keep unopened for up to 1 year.
Are cherry peppers hotter than jalapeños?
They can be. Cherry peppers typically range from 2,500 to 5,000 Scoville units, similar to jalapeños. However, they often taste sweeter with a slower-building heat, making them more approachable for some people.
Are pickled cherry peppers good for your stomach?
Yes—thanks to the vinegar, they can support digestion and help balance stomach acidity. The capsaicin in cherry peppers may also promote gut movement and reduce inflammation. But if you have a sensitive stomach, start with small servings.

